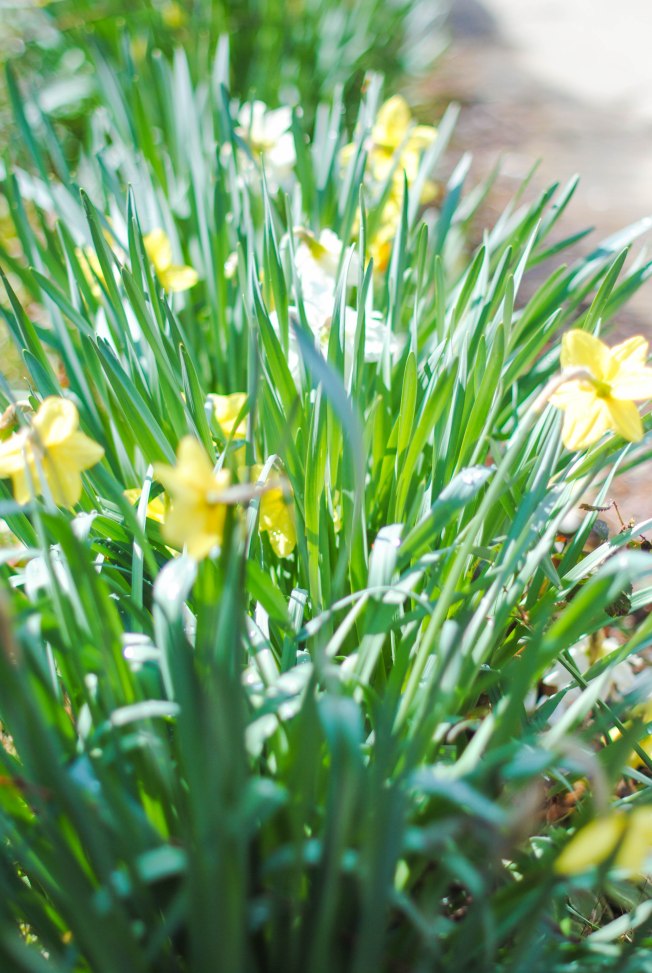
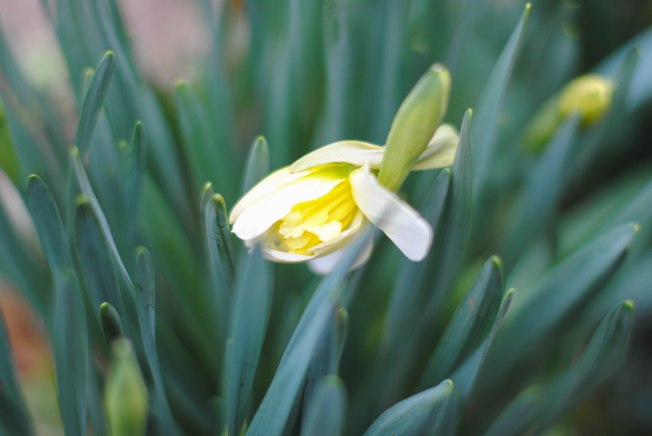
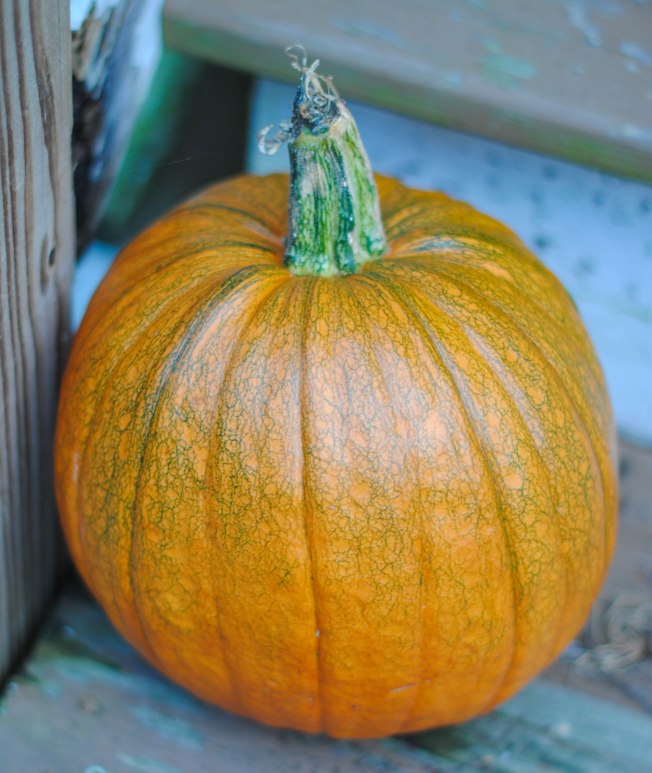
It’s mid-October, according to the calendar. According to the weather, however…
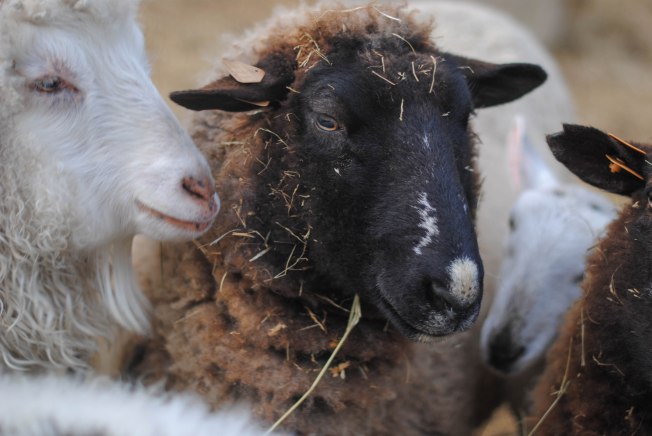
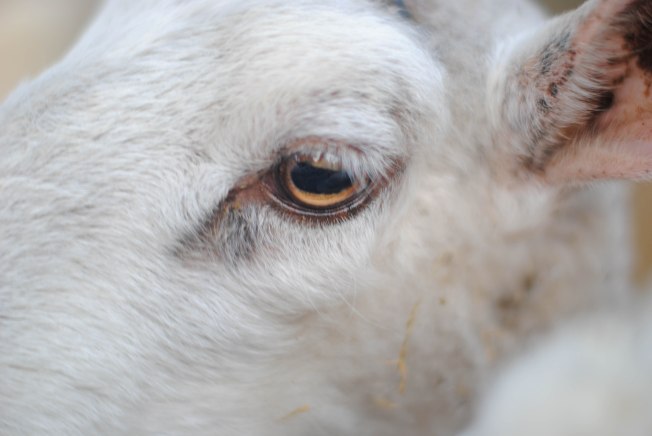
It’s difficult to really get into feeling like it’s fall when it’s impossibly warm and muggy out, but the girls and I are doing our best.
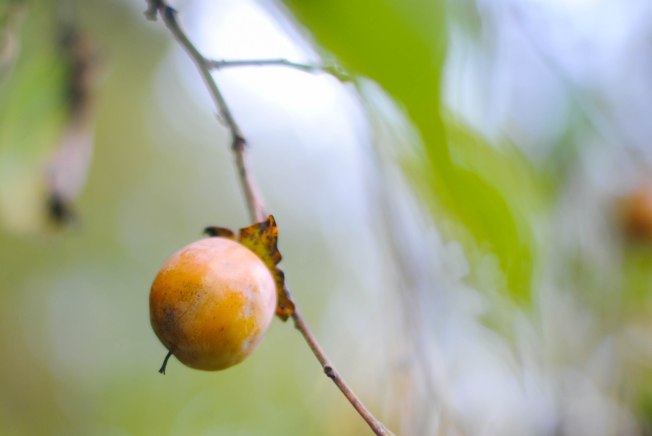
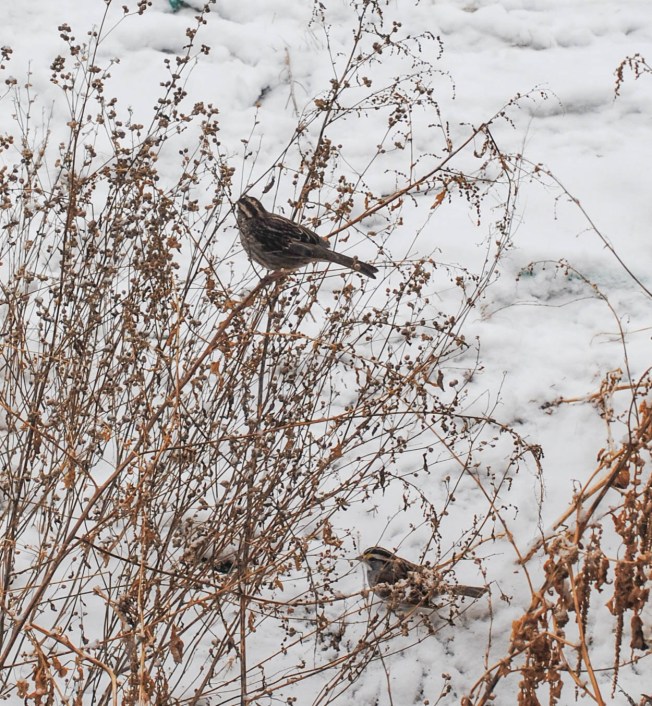
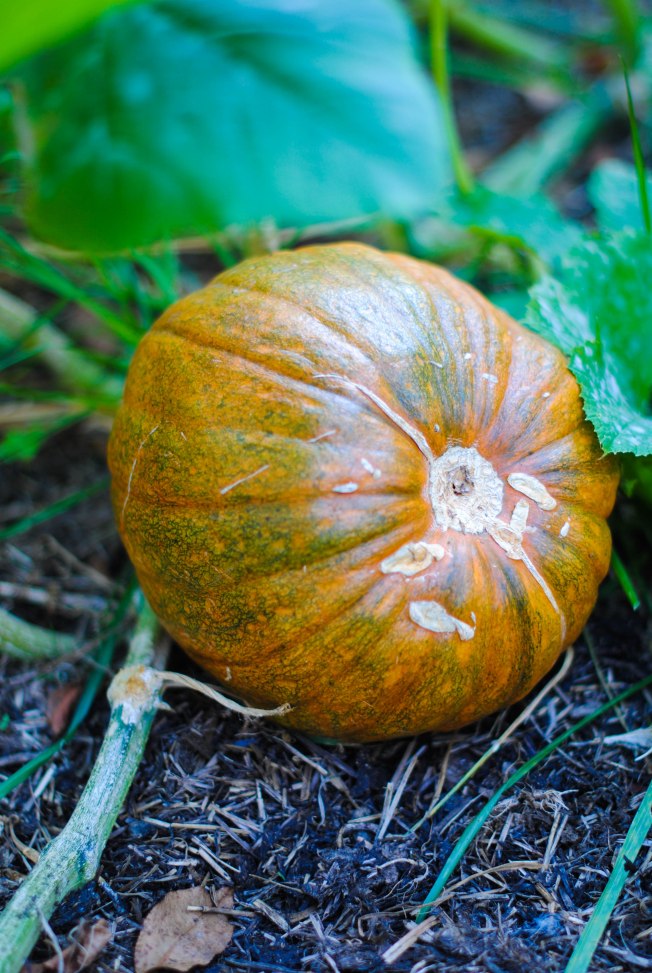
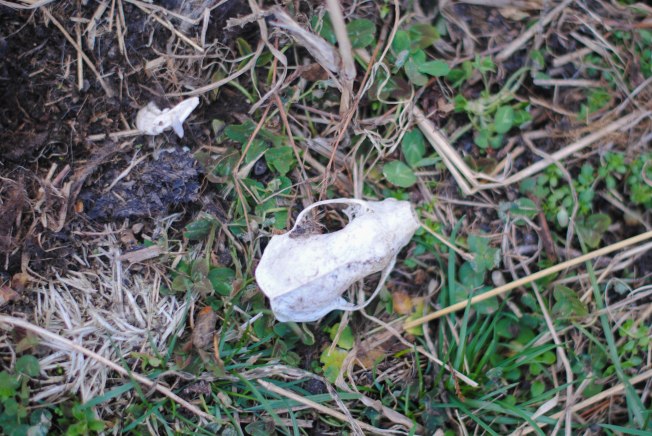
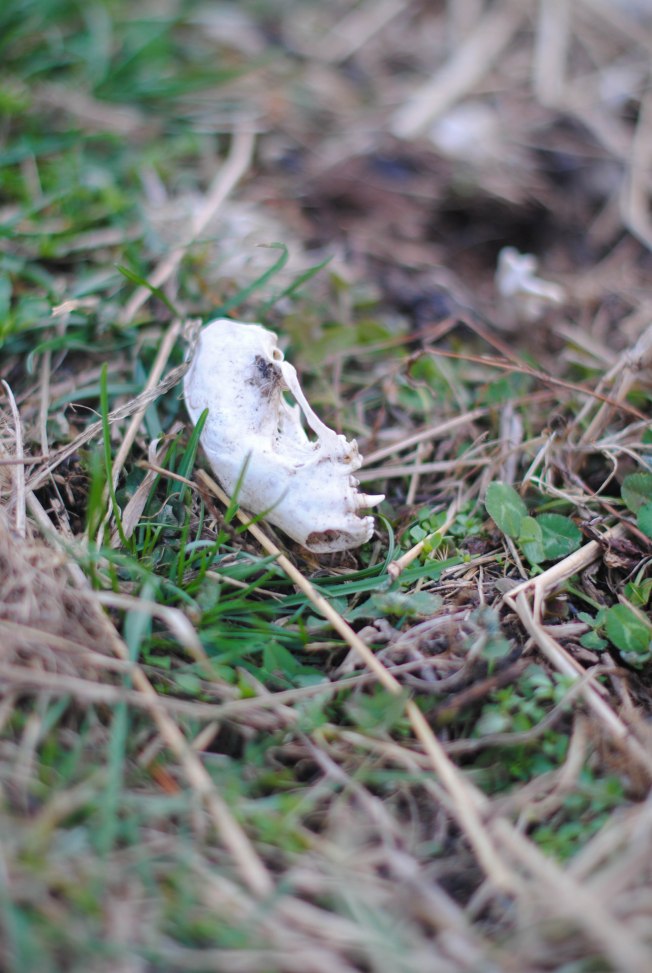
The persimmons are back, but I doubt we’ll get any before the squirrels take them all. I’ve also read that you’re supposed to leave them on the tree until after a good frost, but the idea of that right now is laughable.
I’m hoping that it won’t still be crazy humid for Halloween. The older girls are old enough now to take Oona out trick-or-treating, and Jess and I plan to sit on the porch and hand out candy. It’s be nice to not feel drenched in sweat the entire time!

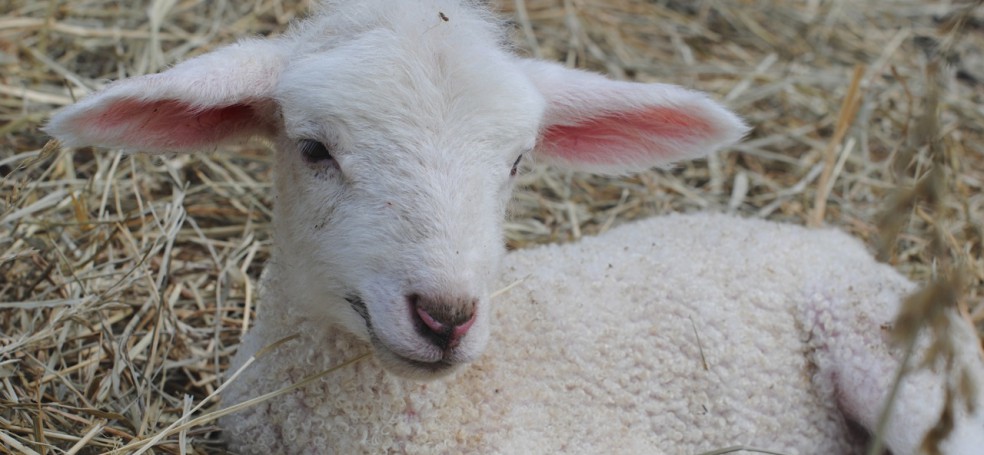
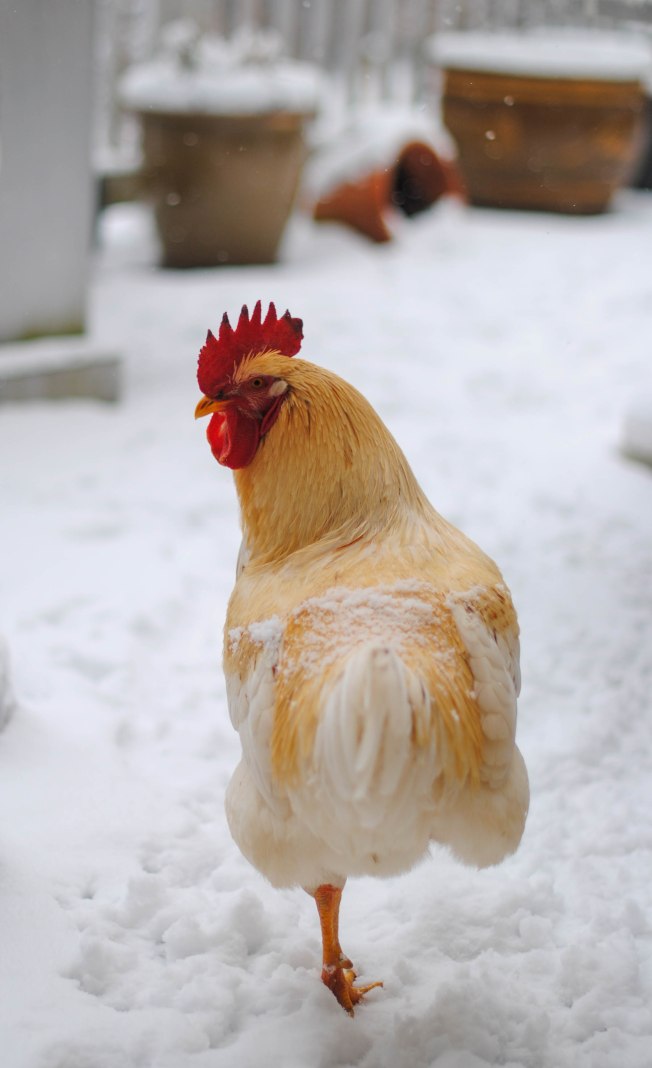
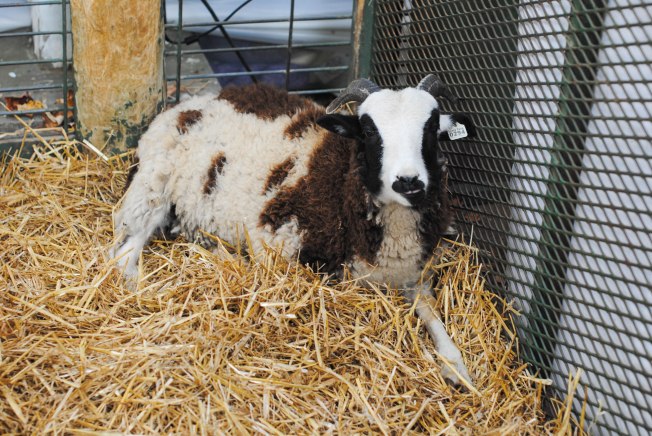
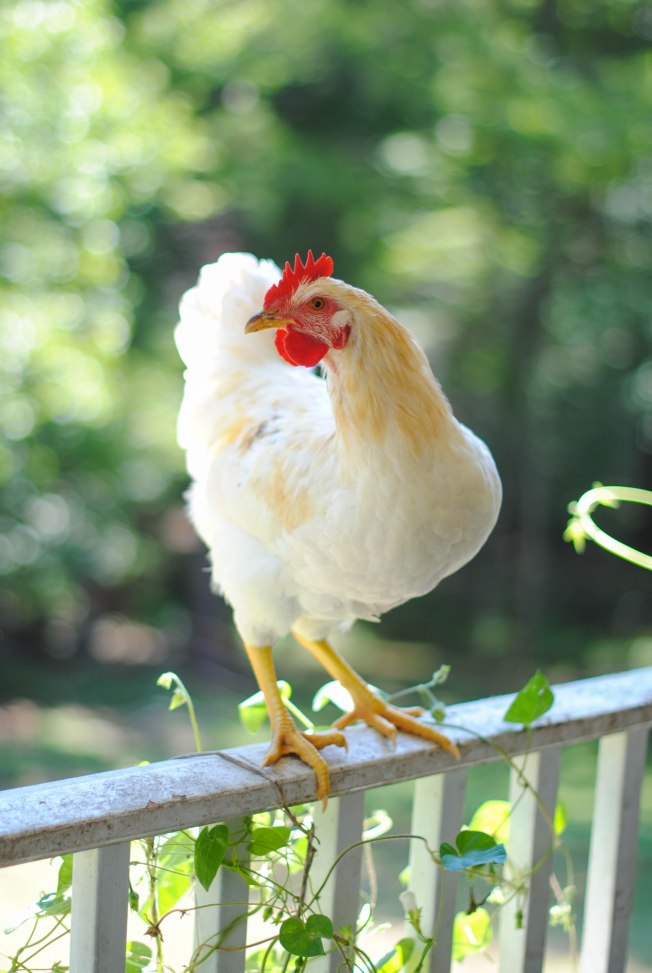
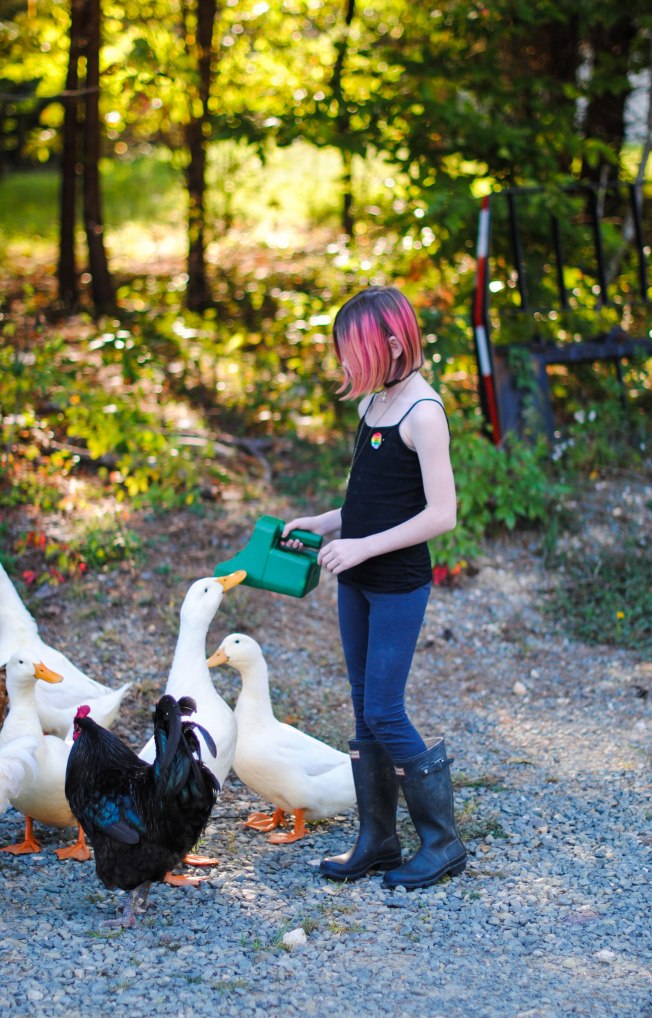
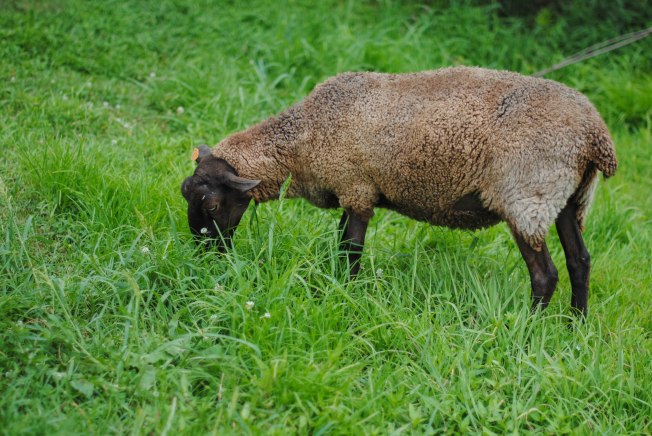
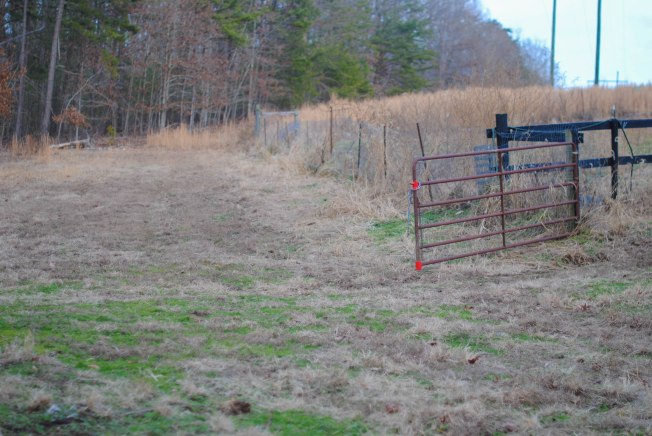
We also capped off a summer of very little egg-laying with an autumn of zero egg-laying. As tends to be the case, the last batch of straight-run chicks we got turned out to be all roosters. I let them free-range, because honestly? They’ll at least try to be protective, and I could stand to lose a few.

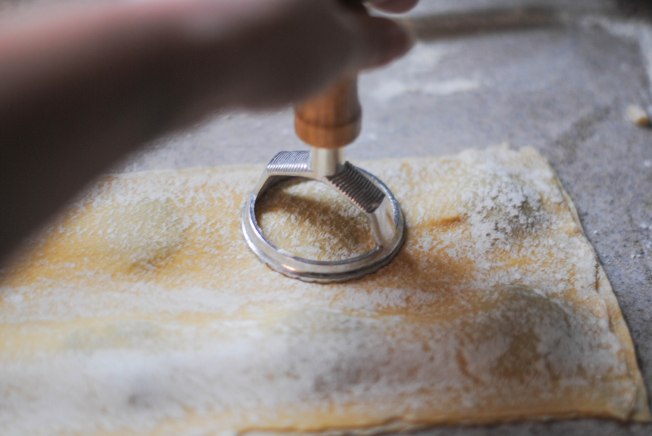
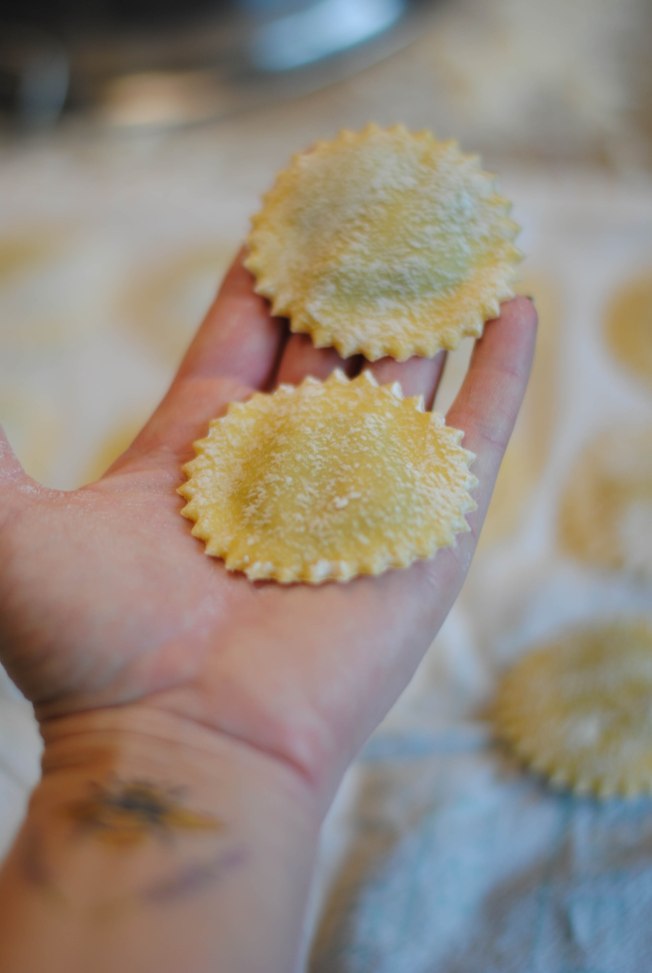
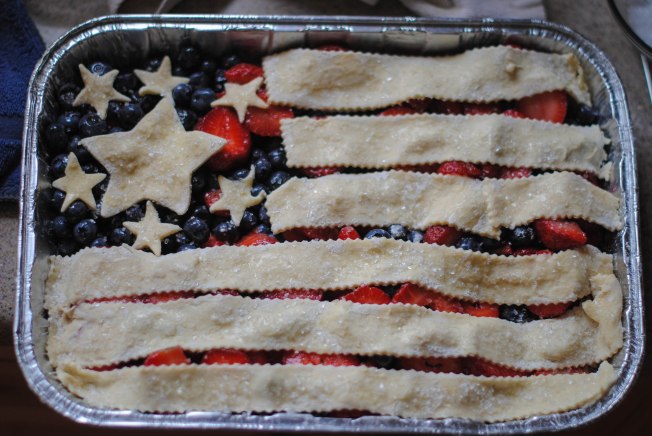
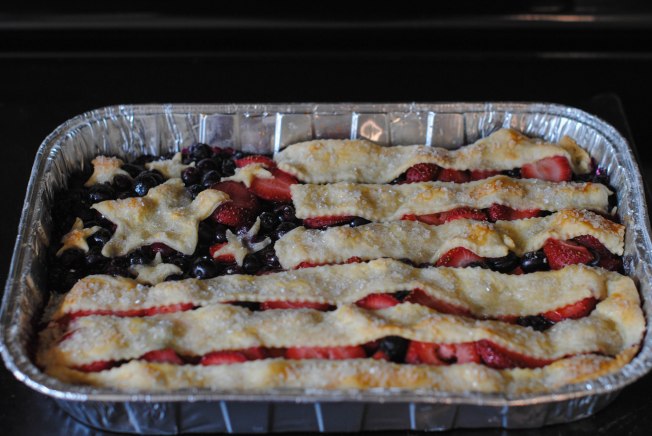
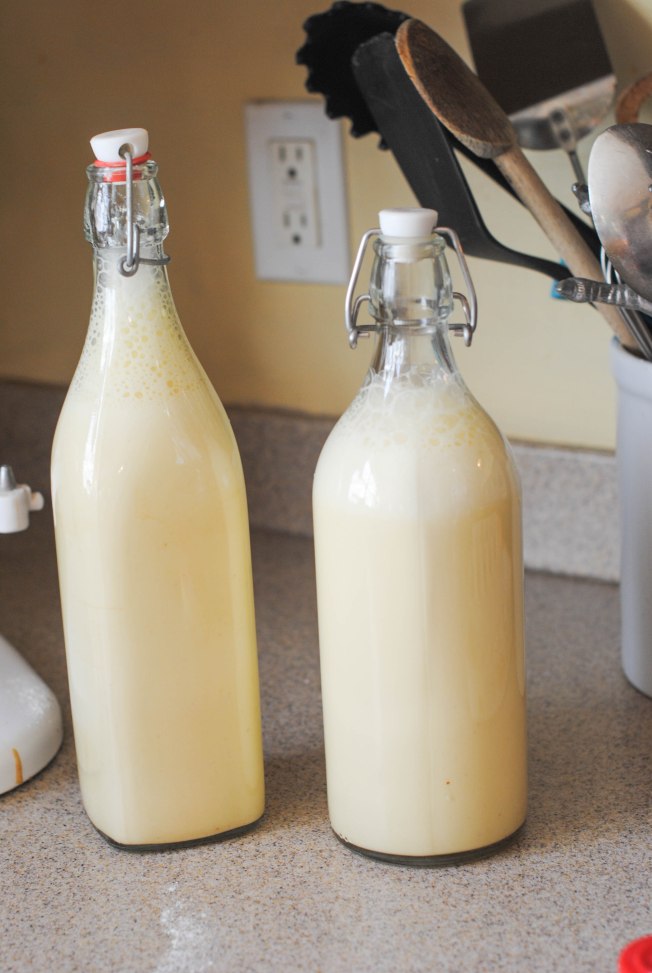
Indoors, there’s been plenty of fall cooking and baking going on. Soups, stews, roasts, cakes, and cookies.
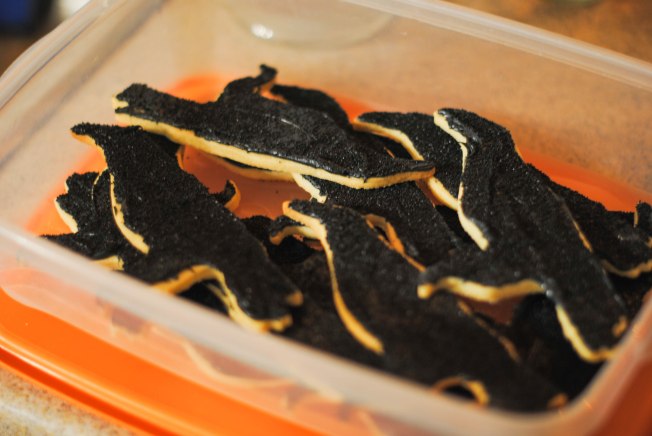
I used my favorite cookie cutter to make Raven cookies – just regular butter cookies with black vanilla frosting and black sugar.I got mine a few years ago at King Arthur Flour, but it looks like you can still get them – or a reasonable facsimile – on Amazon.
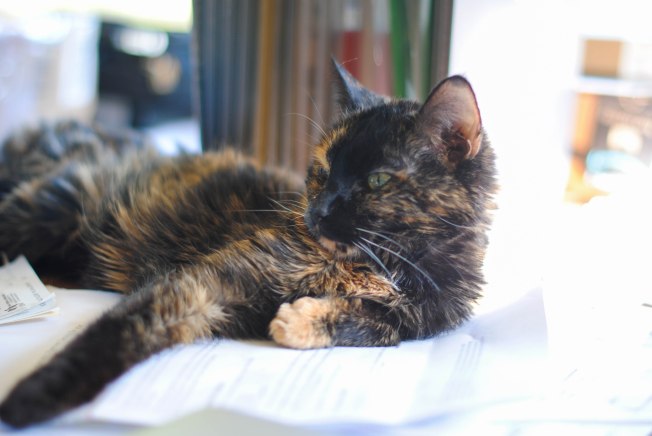
Sadly, I only got this one picture, and the next morning discovered that Pippa had gotten onto the counter, knocked the tupperware off and helped herself to every last one. Because of course.
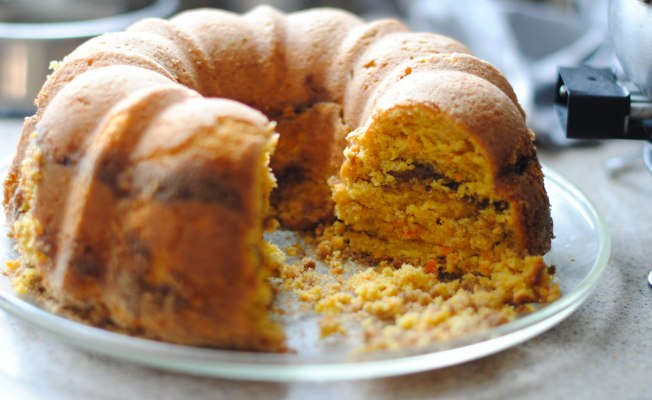
The other thing we are addicted to is Susan’s Autumn Equinox Cake.

It’s autumn in cake form! The recipe was originally posted on the Juniper Moon Farm website, but as that is currently down, I’m re-posting it here:
Autumn Equinox Cake
Ingredients:
1 gallon apple cider
1 Cinnamon Stick
2 or 3 cloves
(Or if you buy Boiled Cider from King Arthur, you can skip these and skip the first step).
1/4 cup cinnamon sugar
1 box spice cake mix OR yellow cake mix plus 1/8 cup pumpkin pie spice
1 15 oz can pumpkin
4 eggs
1/3 cup melted butter or vegetable oil
1/3 cup greek yogurt
2/3 cup sugar
1/4 tsp kosher salt
Directions:
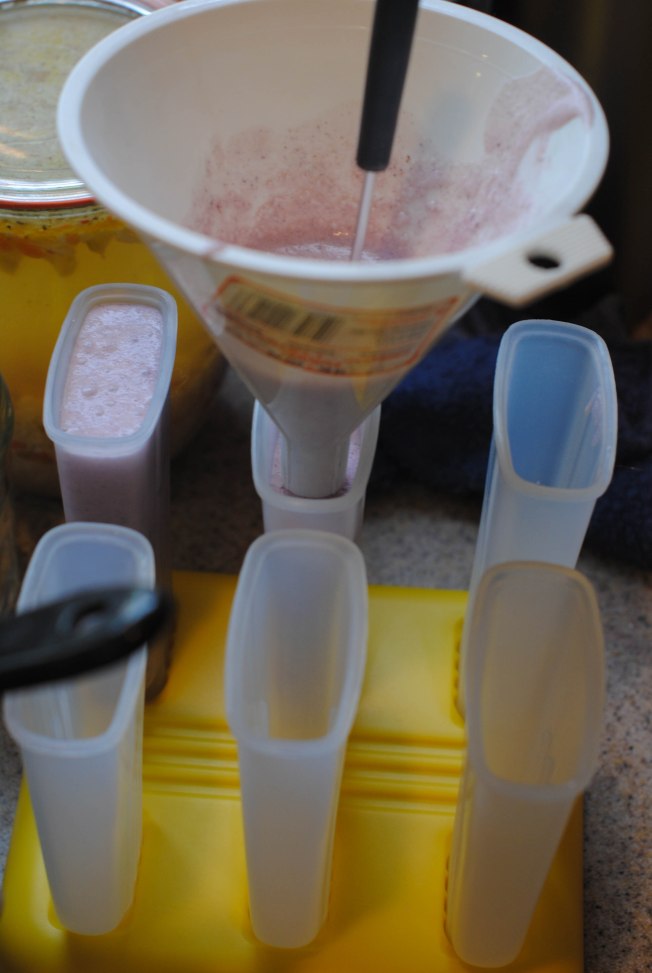
Pour the entire gallon of apple cider into a large pot and add the cinnamon stick and cloves. Bring to a boil, reduce to a gentle simmer for the next hour or so. When the gallon of cider has reduced to about 2 cups, it’s done. The reduction will be syrupy, though it’ll be hard to tell until it’s cool. Remove the cinnamon stick and cloves.
Preheat the oven to 350 degrees. Grease a bundt cake pan and “flour” it with the cinnamon sugar.
In a bowl or stand mixer, combine all of the remaining ingredients plus 1/4 of the boiled cider you just made. Mix slowly until combined, then turn to medium high for a minute or so.
Pour the batter into the prepared pan and bake abut 50 minutes, or until done. (I start testing for doneness around 35 minutes – every oven is different!).
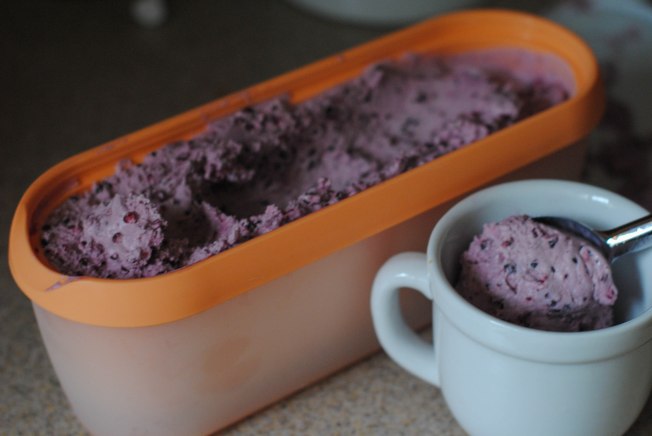
Remove from oven and place pan on cooling rack. Carefully pour another 1/4 cup boiled cider over the cake while it’s still hot. Wait 30 minutes for the cake to cool, and then very carefully remove it from the pan. Now pour another 1/4 cup cider over the top.
Serve with whipped cream!